Green Smoothie Bowl
Ah, smoothie bowls. One of the latest health crazes! So colorful, so nutritious, so filling.
But are they?
Do you ever wonder why smoothie bowls try to seem super healthy, but they are actually frozen yogurt bowls in disguise? Do you ever find yourself rushing to finish a smoothie bowl before it melts into nothing? Do you feel immense regret when forking over $12-15 dollars for a bowl of sugar-water that leaves you wanting more?
I sure do.
There must be a healthier, cheaper, less melty choice out there.
After several attempts at making “island style” smoothie bowls at home, I may have stumbled upon the best ever smoothie bowl of all time. This one doesn’t melt away, and it is actually healthy, not just because of the green color. This smoothie bowl wins on so many levels.
It combines the benefits of several superfoods
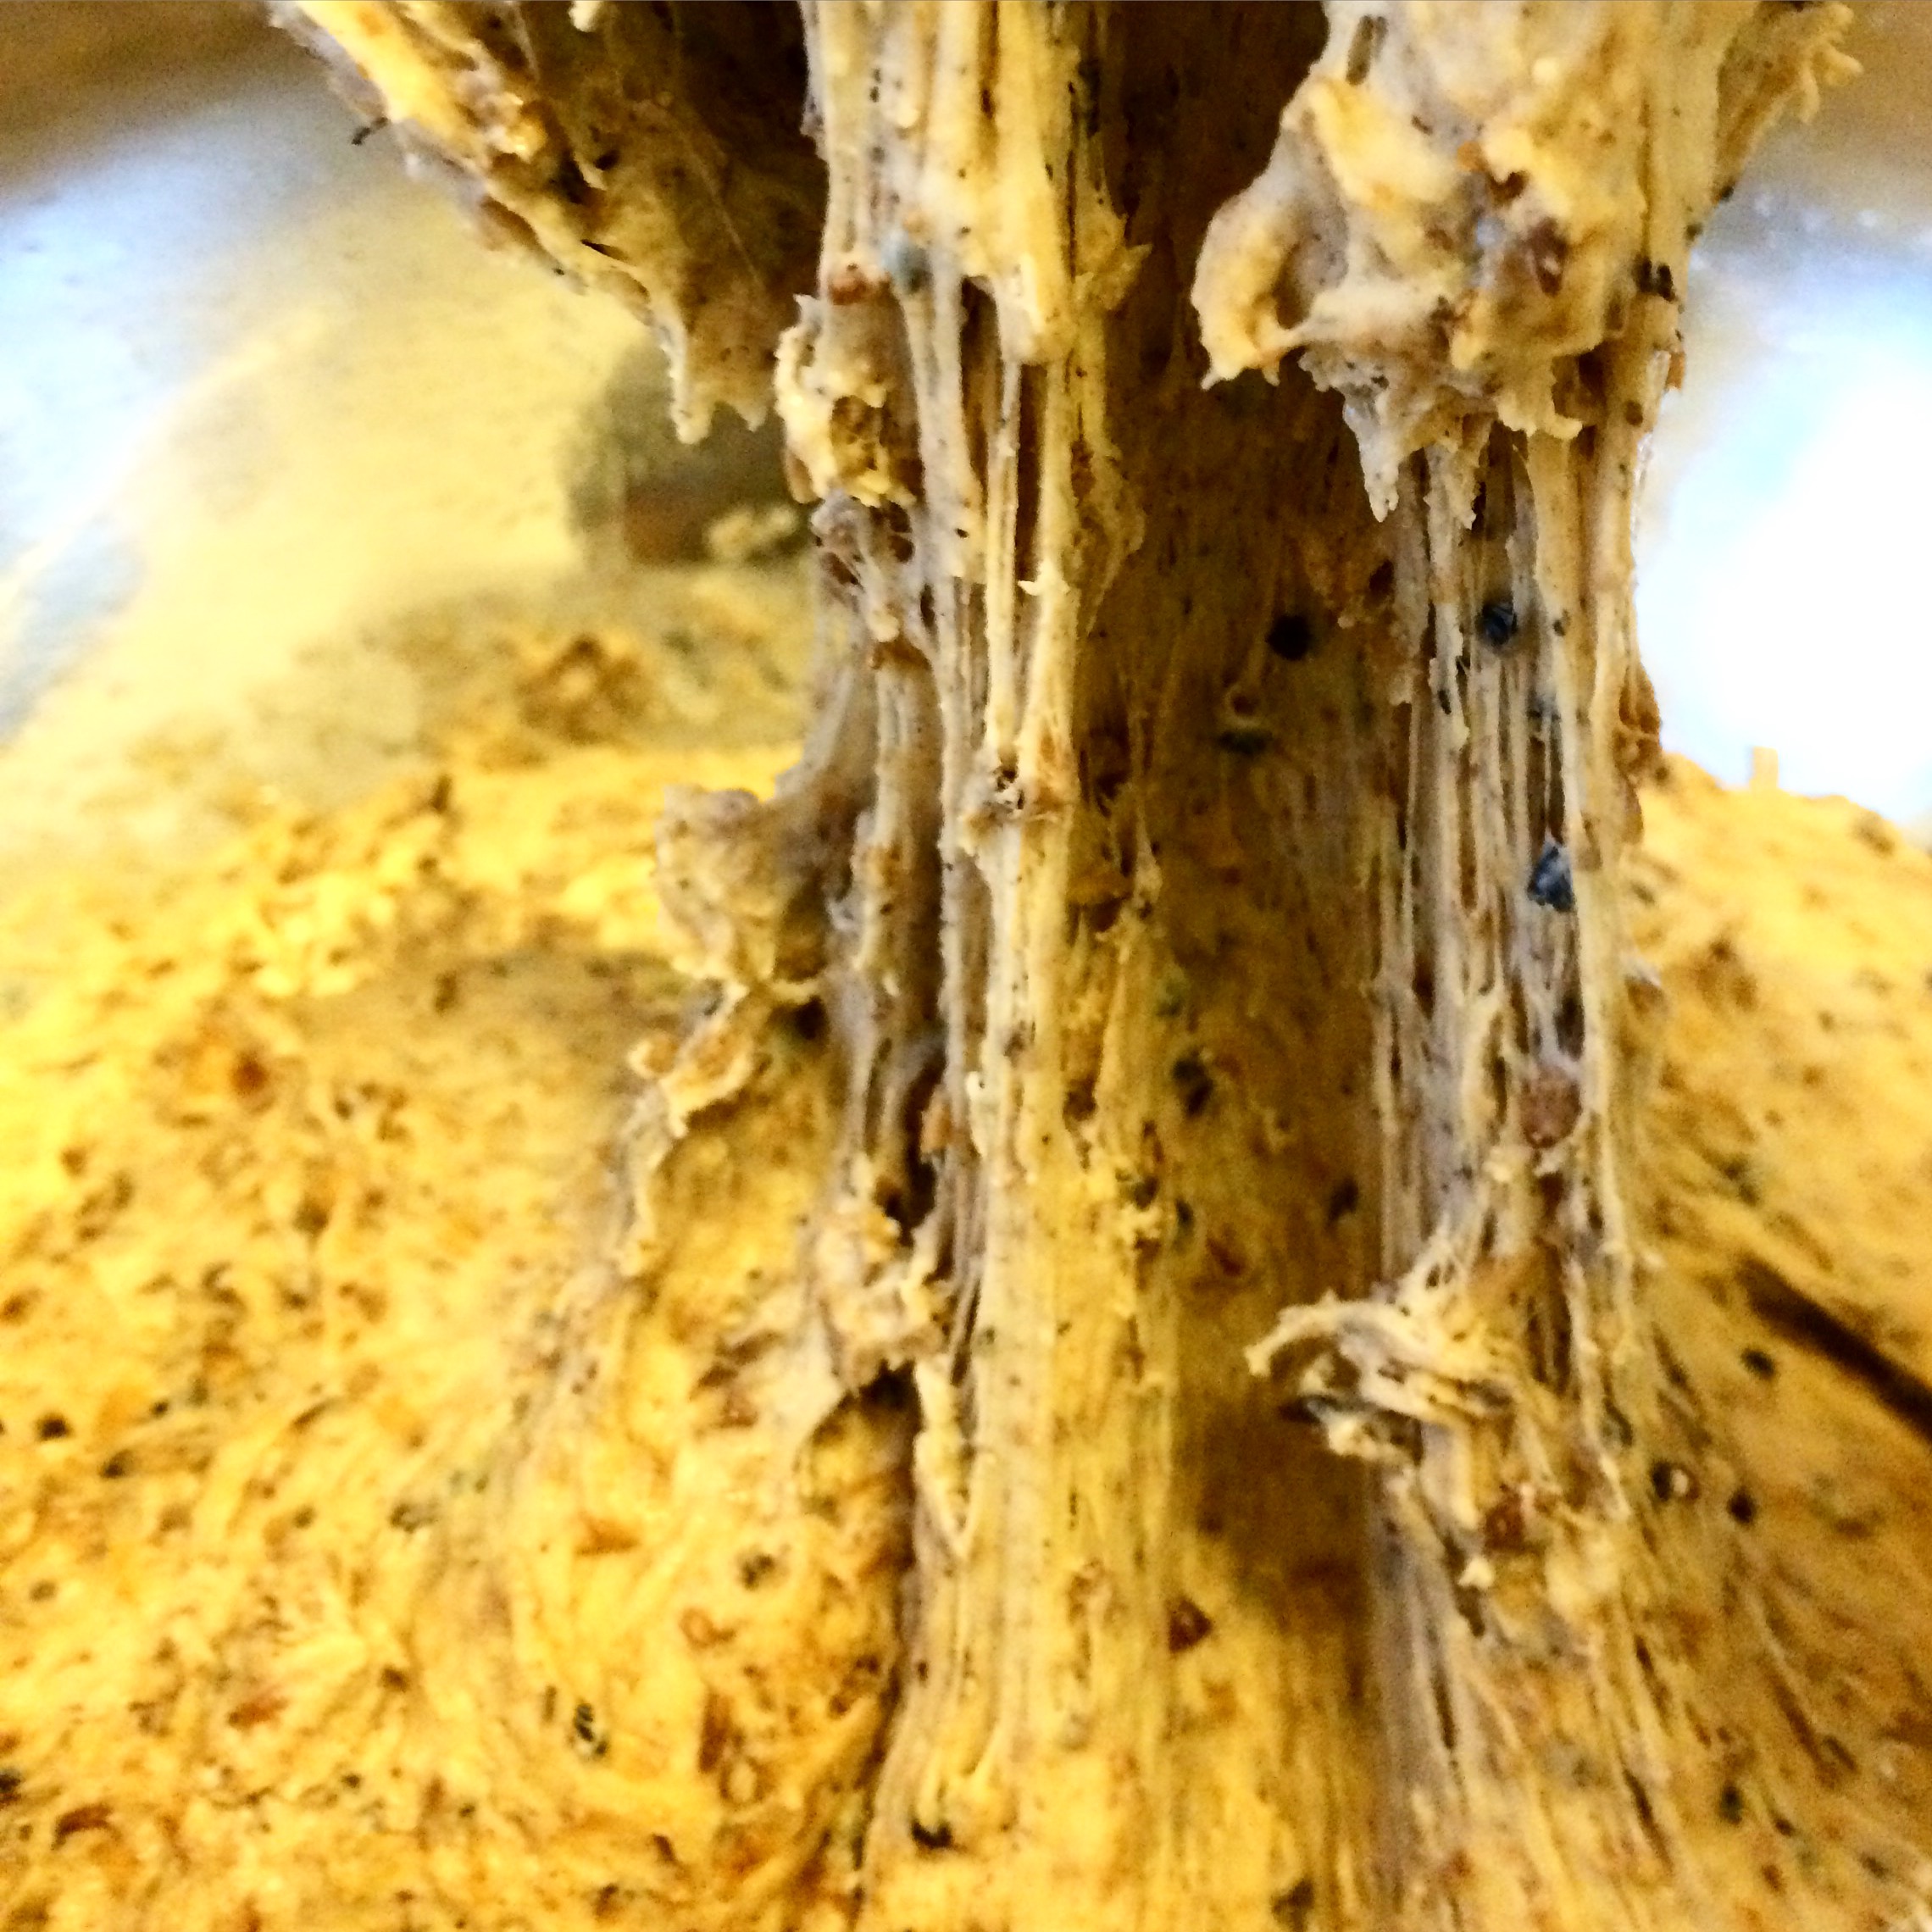
It doesn’t melt; instead, it maintains its fluffy consistency for hours
It is cheaper per oz than smoothies you’ll get at a cafe
Since it includes spinach, spirulina, psyllium, and protein, it really rocks the nutrition game. And, depending on what you top it with, many nutritionists might consider this bowl to be “a complete protein.”
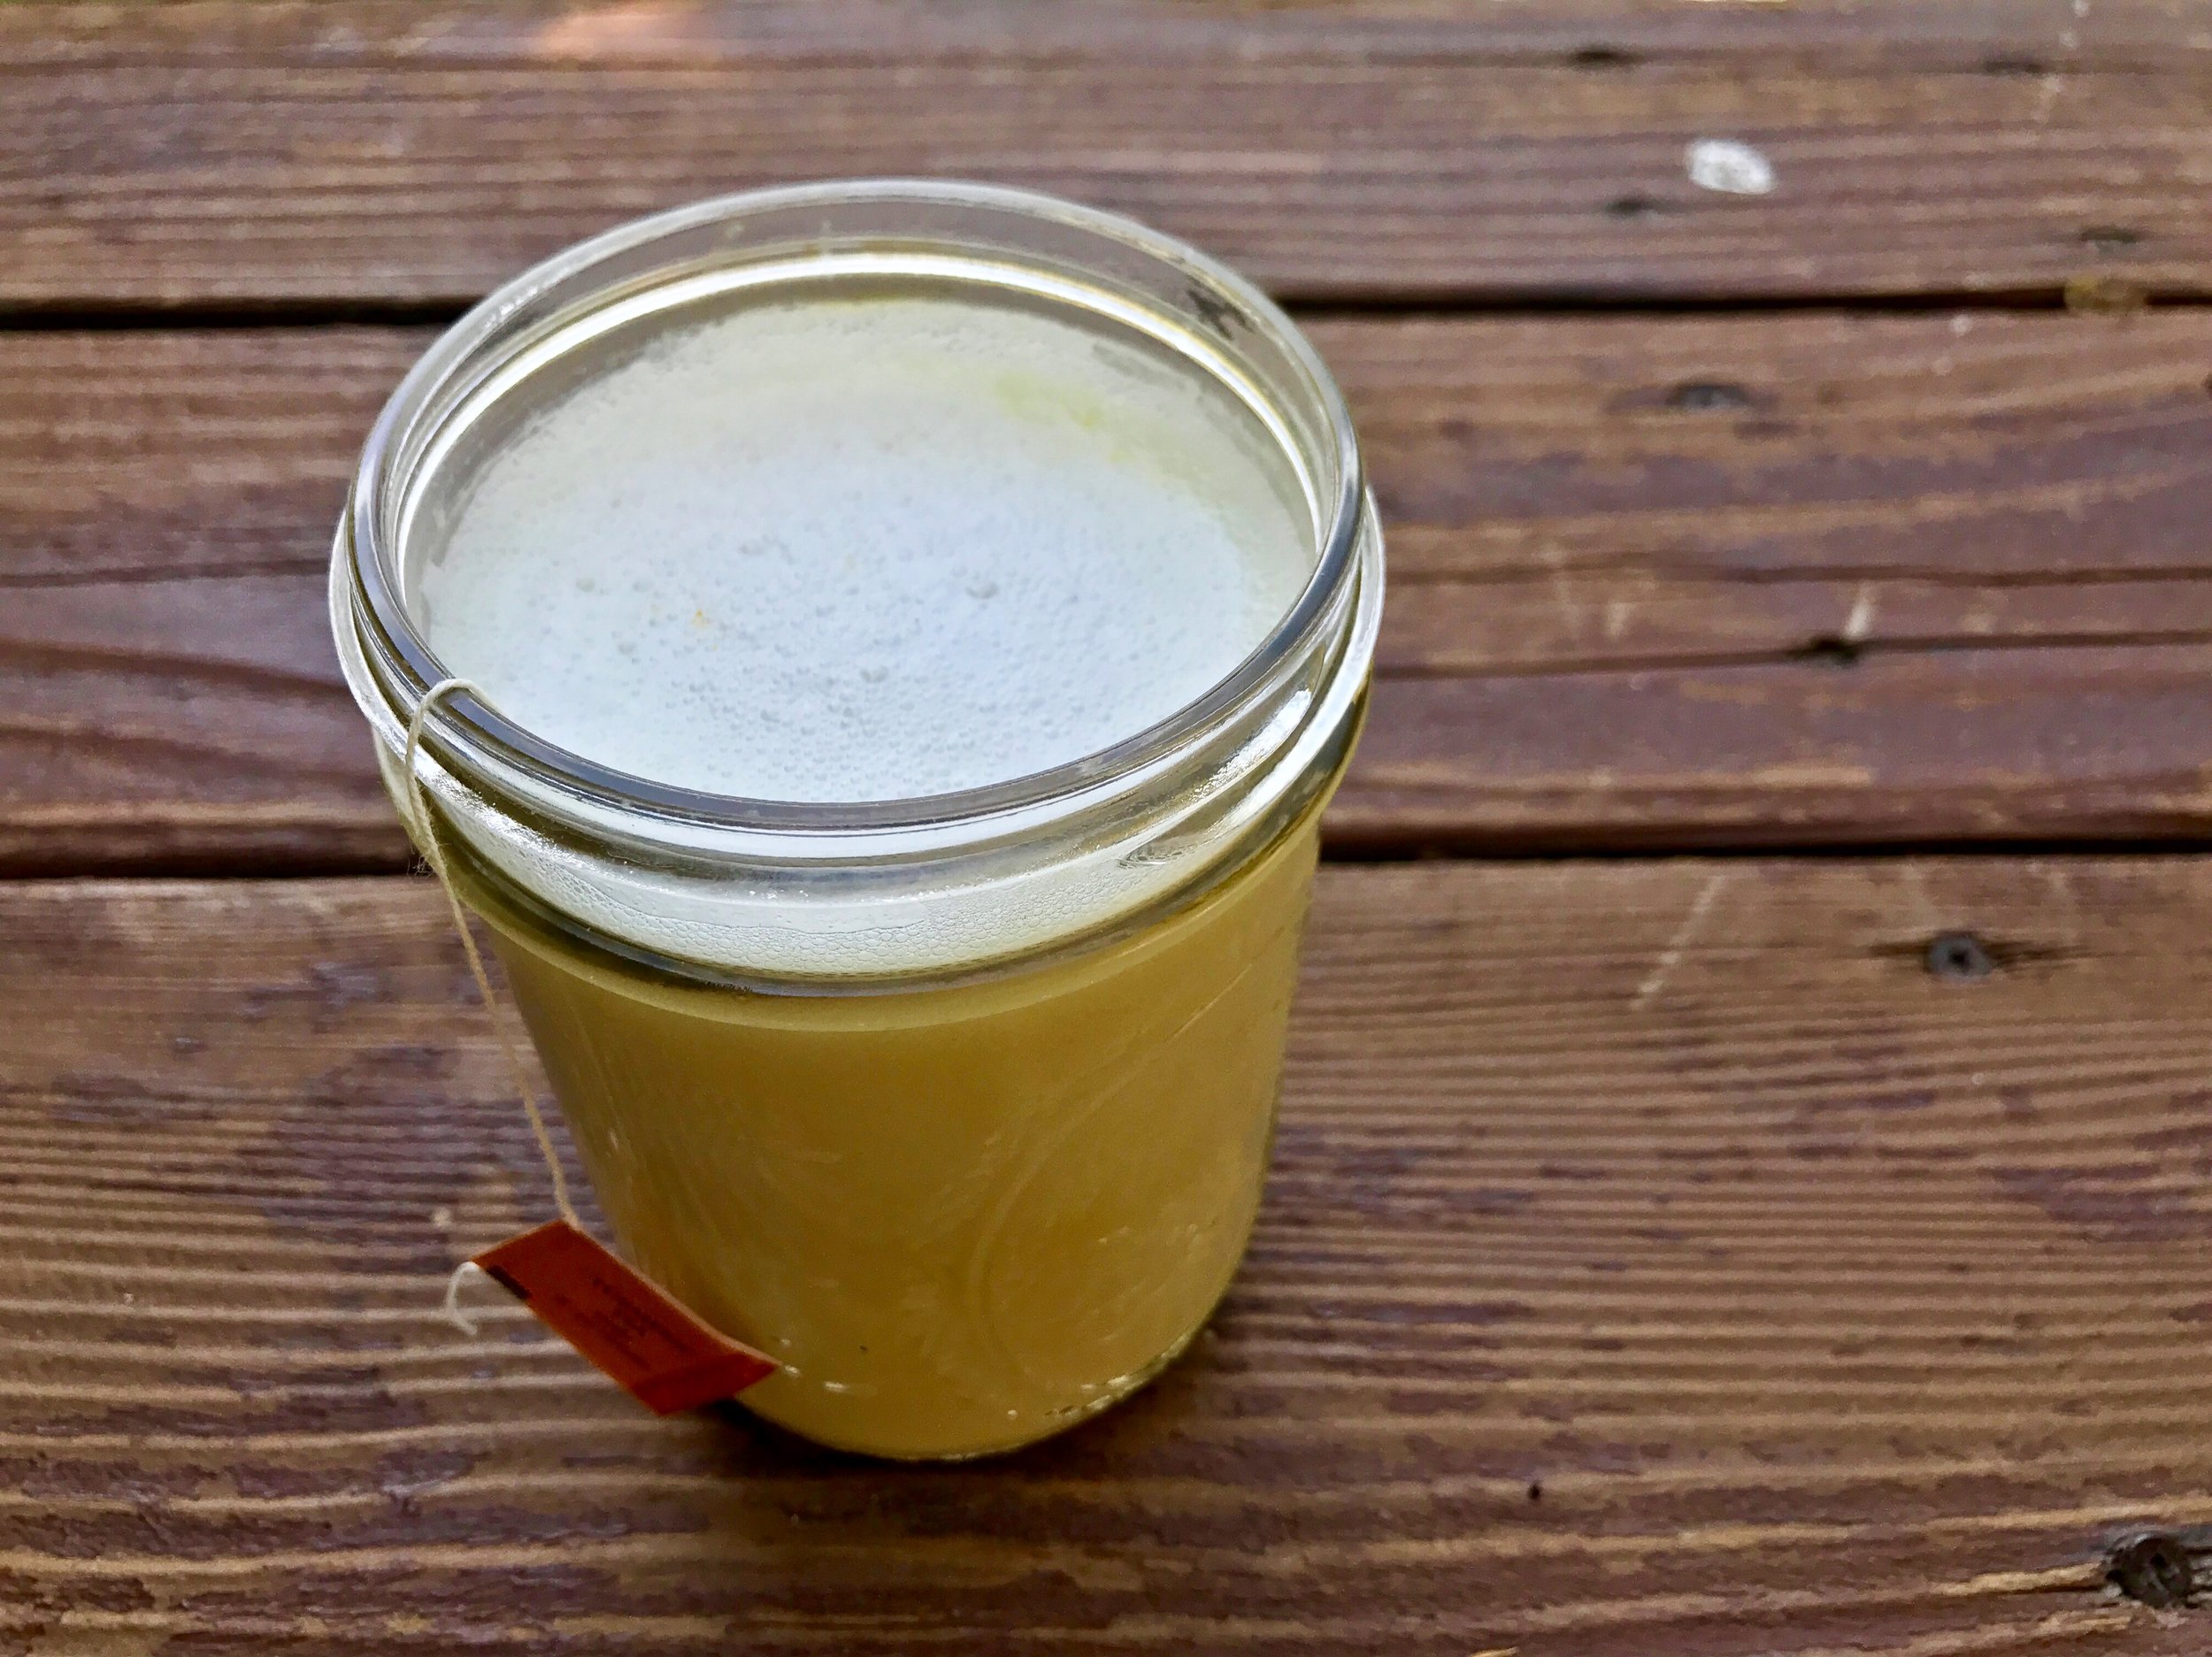
The psyllium is the secret ingredient. Much like flax seeds or chia seeds, psyllium husks absorb and retain water. You don’t need to add much liquid, and absolutely no ice, for this smoothie to become nice and fluffy in your standard kitchen blender.
Yes, buying spirulina, psyllium, protein powder, and whatever toppings you like will require some initial spending, but you’ll have smoothies for weeks! Frozen spinach isn’t too expensive, and you can even buy fresh spinach and freeze it. Freeze old bananas and use them when you can. Apples can last a pretty long time in the fridge. It’s up to you! Decide what’s best for your wallet and go with that.

And now, for the recipe you’ve been waiting for:
Green Smoothie Bowl
1-2 cups frozen spinach
1 serving protein powder of choice, unflavored
1 serving spirulina
1/2 banana or apple
2 tbs psyllium husks
No more than 1 cup of coconut water, milk of choice, yogurt, or water. I use water or coconut water.
Toppings (you can use whatever you like, I used these!)
1/2 banana
Fresh figs
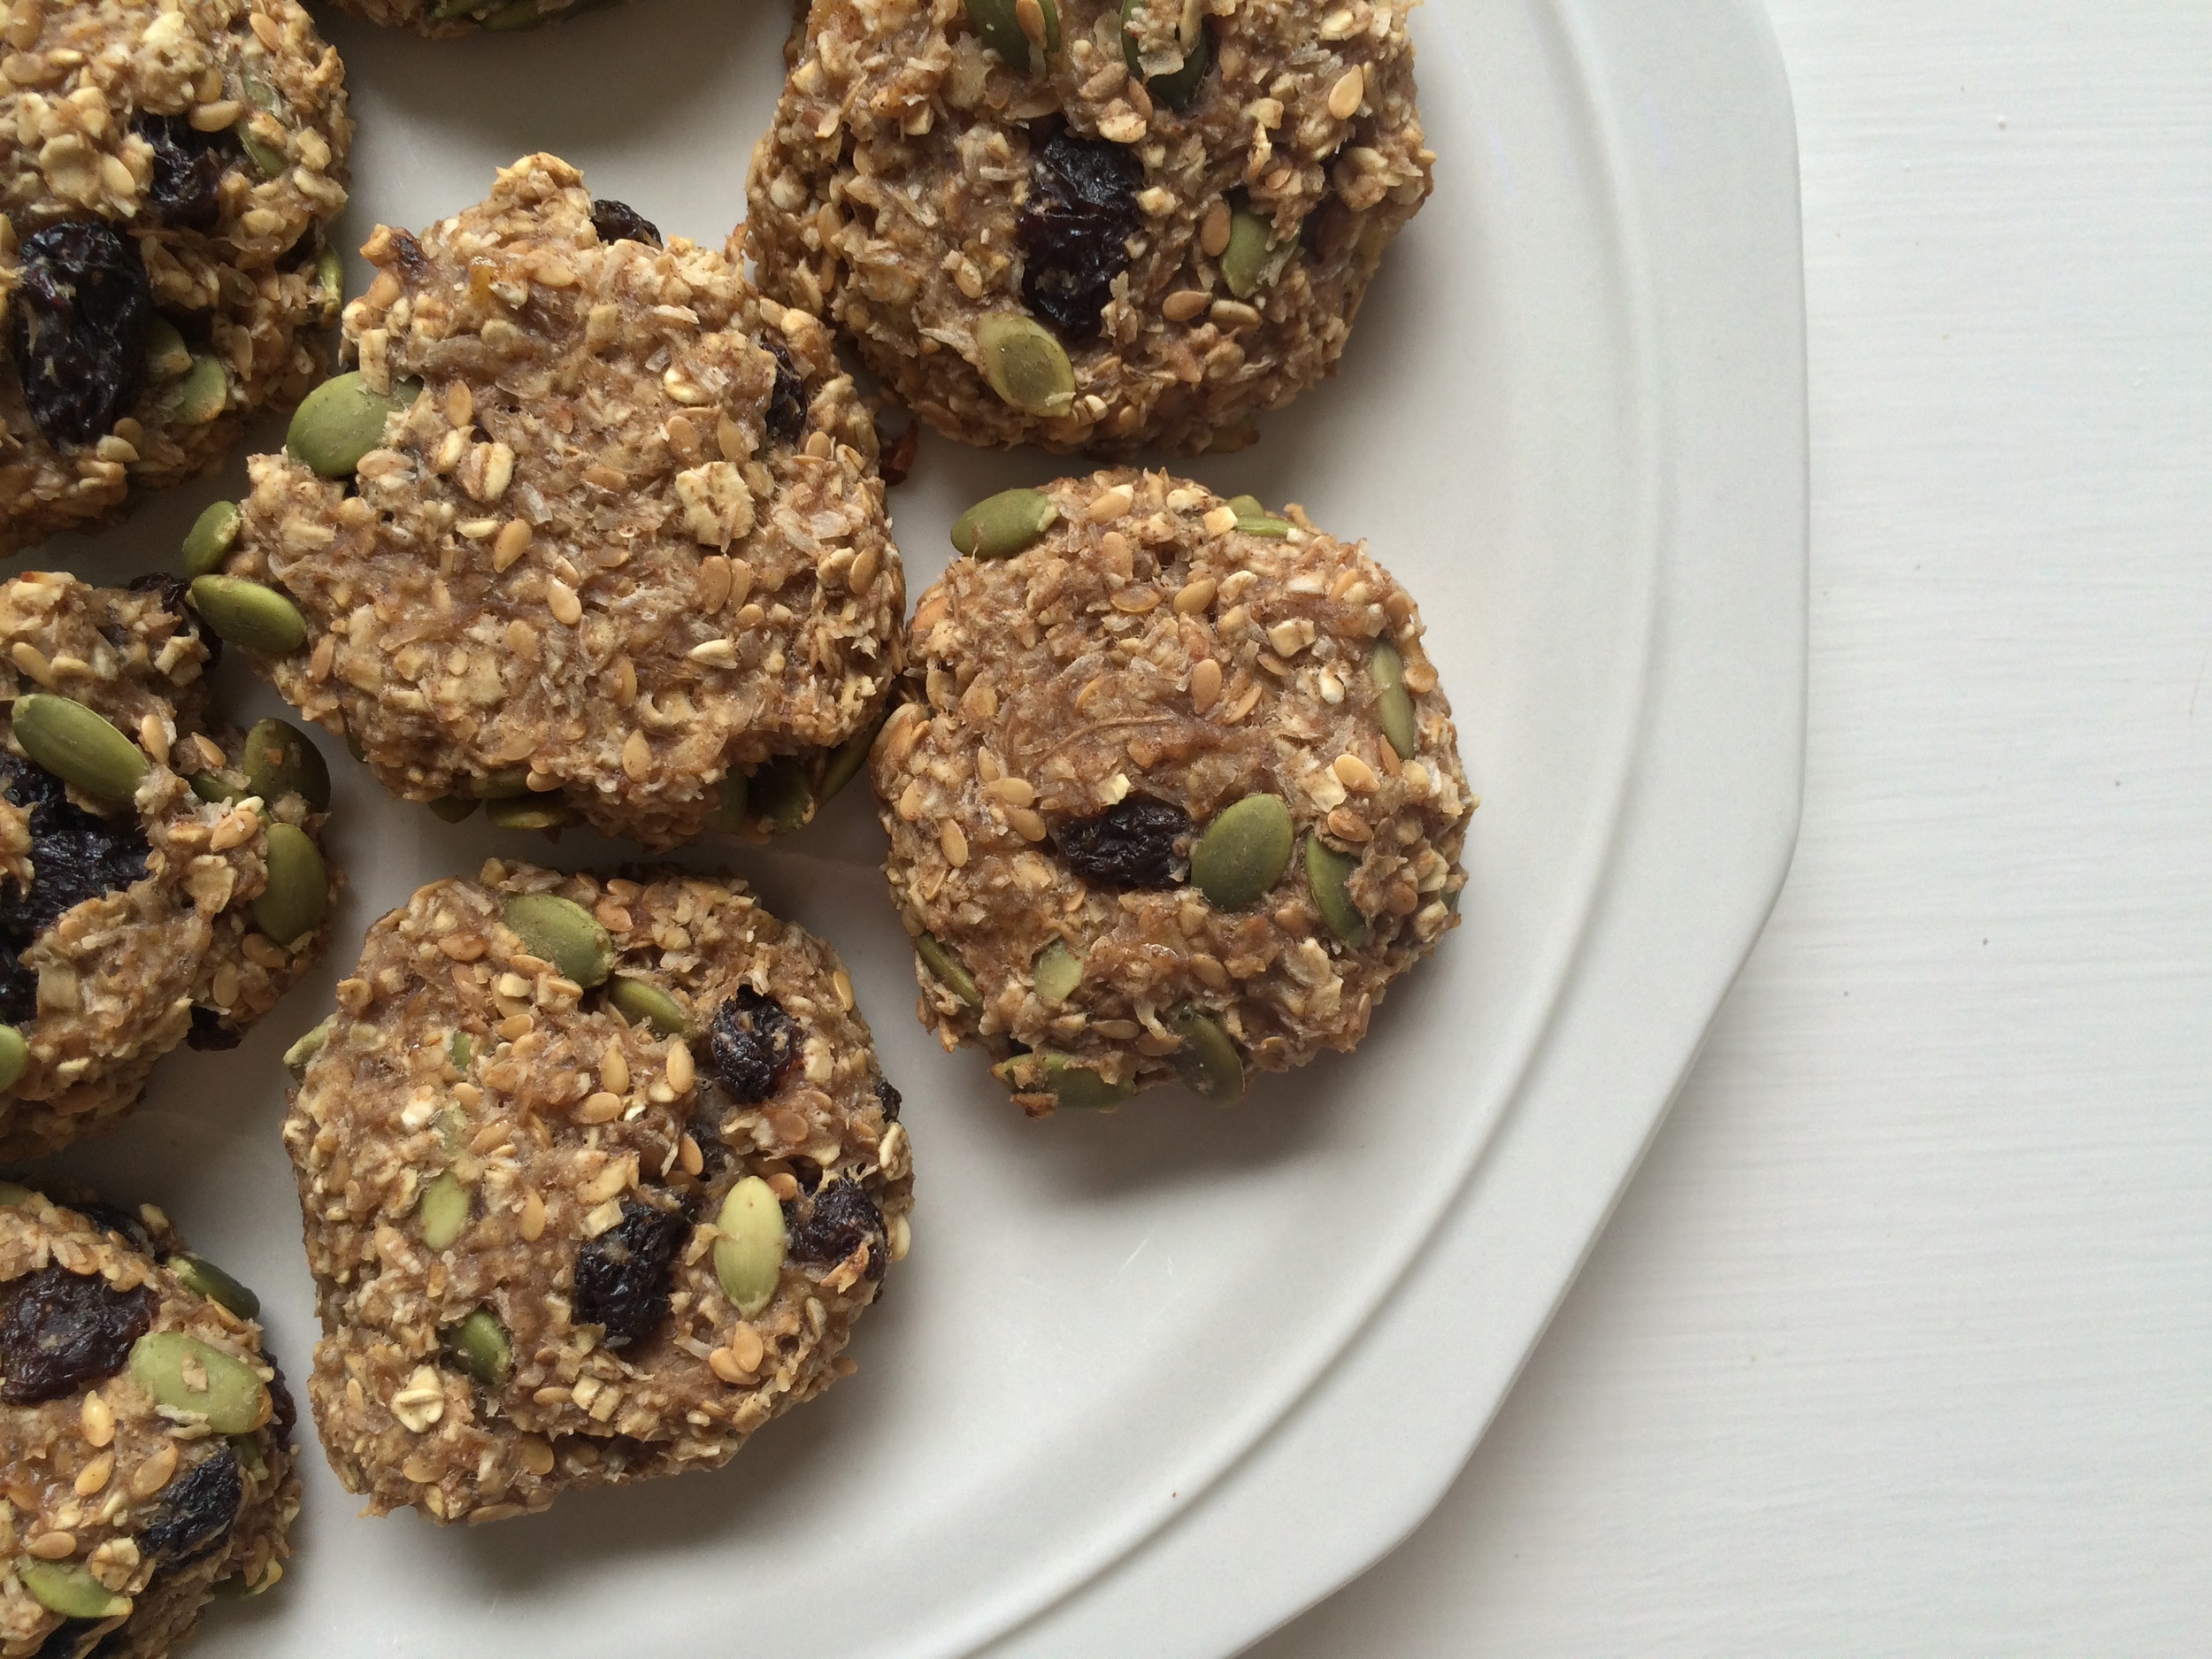
1/4 cup granola of choice
Handful of seeds of choice